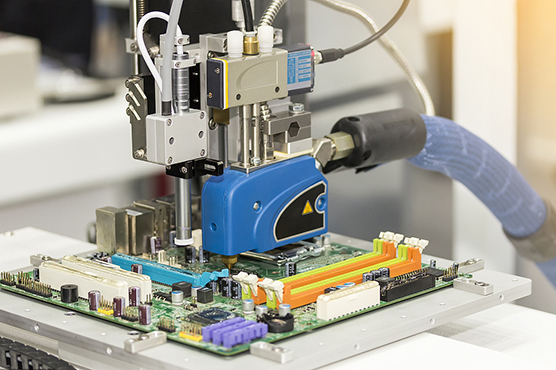

In the PCB production process, sometimes there will be defects such as wire drawing, glue nozzle clogging, empty extrusion, and component displacement. So what is the cause of the defect? How to solve these defects?

1. Wire drawing / trailing
Reason: Wire drawing/tailing is a common defect in dispensing. The common reasons for it are that the inner diameter of the glue nozzle is too small, the dispensing pressure is too high, the distance between the glue nozzle and the PCB is too large, the patch glue is expired or the quality is not good, the viscosity of the patch glue is too high, and it cannot return to room temperature after being taken out of the refrigerator, too much glue dispensed, etc.
Solution:
For the above reasons:
1) Replace the nozzle with a larger inner diameter;
2) Reduce dispensing pressure;
3) Adjust the "stop" height;
4) Change the glue and choose the glue type with suitable viscosity;
5) After the patch adhesive is taken out of the refrigerator, it should be returned to room temperature before being put into production;
6) Adjust the amount of glue dispensed.
2. Glue nozzle clogged
Reason: The failure phenomenon is that the amount of glue coming out of the glue nozzle is too small or there is no glue point coming out.
1) The reason is that the inside of the pinhole is not completely cleaned.
2) Impurities are mixed in the patch glue, and there is a phenomenon of plugging holes.
3) Incompatible glues are mixed.
Solution:
1) Replace the needle with a clean one;
2) Replace with good quality adhesive;
3) The brand name of the patch adhesive should not be mistaken.
3. Empty extrusion
Reason: The phenomenon of empty extrusion means that there is only dispensing action, but no glue output. The reason is that the patch glue is mixed with air bubbles or the glue nozzle is blocked.
Solution: Inject the glue in the manual for degassing treatment, and deal with it according to the method of glue nozzle clogging.
4. Component displacement
Reason:
1) The glue output of the patch glue is uneven, for example, one of the two spots of glue on the chip component is more than the other;
2) The component shifts or the initial adhesion of the adhesive is low during placement;
3) After dispensing, the PCB is placed for too long and the glue is semi-cured.
Solution:
1) Check whether the glue nozzle is blocked, and eliminate the phenomenon of uneven glue output;
2) Adjust the working status of the placement machine;
3) Change the glue;
4) The PCB should not be placed for too long after dispensing.
5. Chip off after wave soldering
Reason:
1) The curing technology parameters are not in place, especially the temperature is not enough, the component size is too large, and the heat absorption is large;
2) Aging of light curing machine;
3) The amount of glue is not enough;
4) Component/PCB is contaminated.
Solution: Adjust the curing curve, especially to increase the curing temperature. Usually, the peak curing temperature of the heat-curing adhesive is critical, and reaching the peak temperature can easily cause chipping. For light-curing adhesives, it should be observed whether the light-curing lamp is aging and whether the lamp tube is black; The amount of glue and whether there is contamination on the component/PCB are issues that should be considered.
6. Component pins float/displace after curing
Reason: Uneven placement glue, excessive placement glue, or component offset during placement.
Solution:
1) Adjust the dispensing technology parameters;
2) Control the amount of glue dispensed;
3) Adjust the patch technology parameters.
HoYoGo is a professional and reliable PCB manufacturer, including one-stop services from upstream electronic component procurement to PCB production and processing, SMT placement, PCBA testing, and finished product assembly, etc. All of our products strictly follow the acceptance standards of IPC-A-600-H and IPC-6012. We do not relax any step of inspection, to ensure the quality of customers, so that customers can feel at ease, rest assured!
